Just recently, I got a Kindle Fire HD 8.9 with LTE for very cheap price from Woot.com, one of amazon.com companies. My idea is that once you own a product, you should be able to do whatever you want. Sure it does void warranty and you might not be able to get it replaced/repaired but for a very cheap tablet I decided to take that risk. This tablet has a lot of potential given the LTE connection but because of the restricted OS that amazon has, we generally can’t do much outside of Amazon ecosystem when it comes to apps.
This tablet in particular uses Android 4.0.4, one of the KitKat versions and is considered a legacy system or OS. It was really hard to find a good solution to root and change things especially when most of the links out there no longer work and the codes were not maintained well. So in this tutorial I will try my best to provide you with all the links and downloads that are available to root your device and install latest TWRP and some custom roms.
Important: I am personally not liable if something goes wrong in the process. It’s up to you to take the risk!
What you need:
Download Zip File: Click Here!
- Kindle Fire HD 8.9 (LTE/non-LTE) with 8.5.1 stock rom
- Micro USB cable that came with the Tablet (important!)
- Mac or PC
- Adb and Fastboot installed
- Latest Kindle USB Driver
- Install a File Explorer app (any app will do(e.g. ES File Exp but I am using File Explorer app from Amazon App Store)

Before we begin, make sure your settings are set to the following:
- Swipe Down and tap on More button
- Select Device
- Make sure the “Allow Installation of Applications from Unknown Sources” is turned On
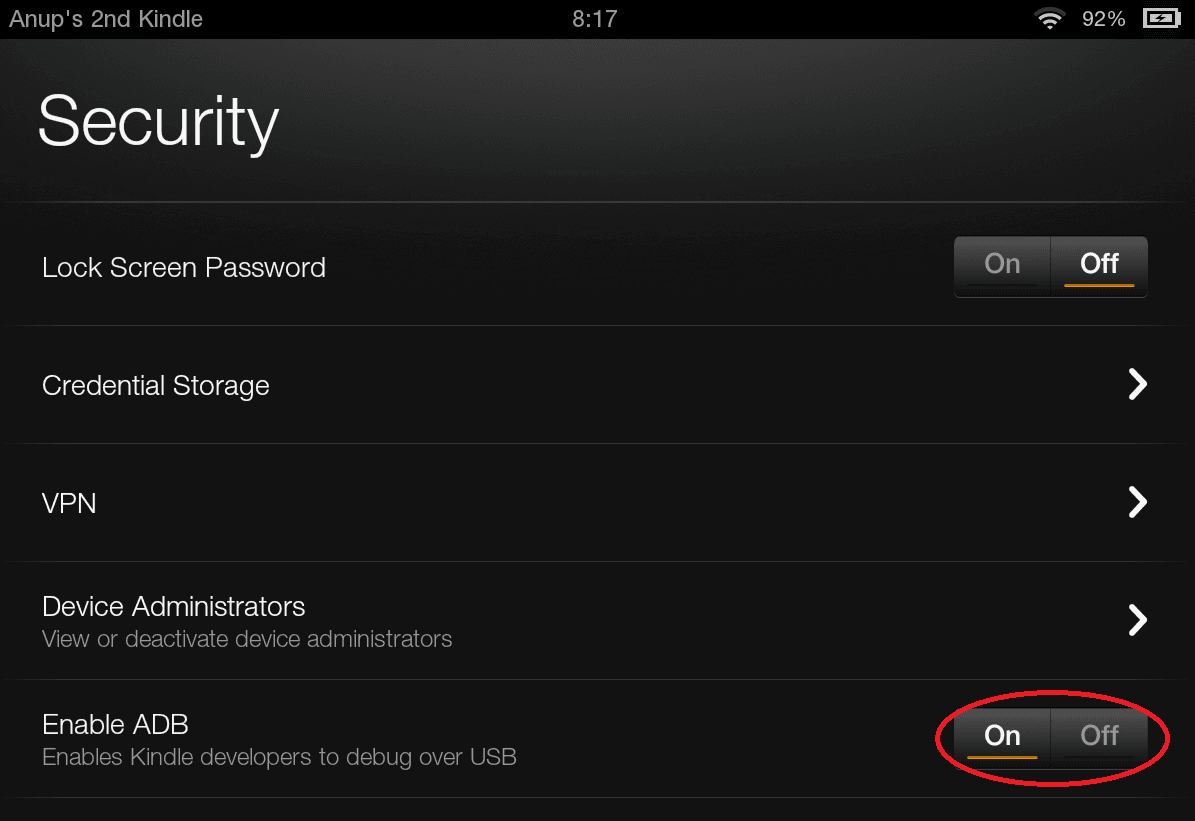
- Go back and select Security
- Make sure the “Enable ADB” is turned On


Achieve Root Access
Getting a root access on this device is relatively easy. You just have to install the latest version of KingRoot app and try the root process. If it fails, just uninstall the app, restart the tablet, install the app and try again. Now, I have heard couple of bad things about KingRoot. It shows as threat when scanning with AVG app and says that it is a kind of an adware. But I have not found any other good rooting method that actually works. There are other apps like KingRoot but all of these apps seems to come from China 🙂 So it’s up to you to decide.
- Head over to Kingroot.net and download the latest apk file.
- Copy the apk to your tablet or Use Silk Browser to download the apk
- Open File Explorer and go to Downloads folder
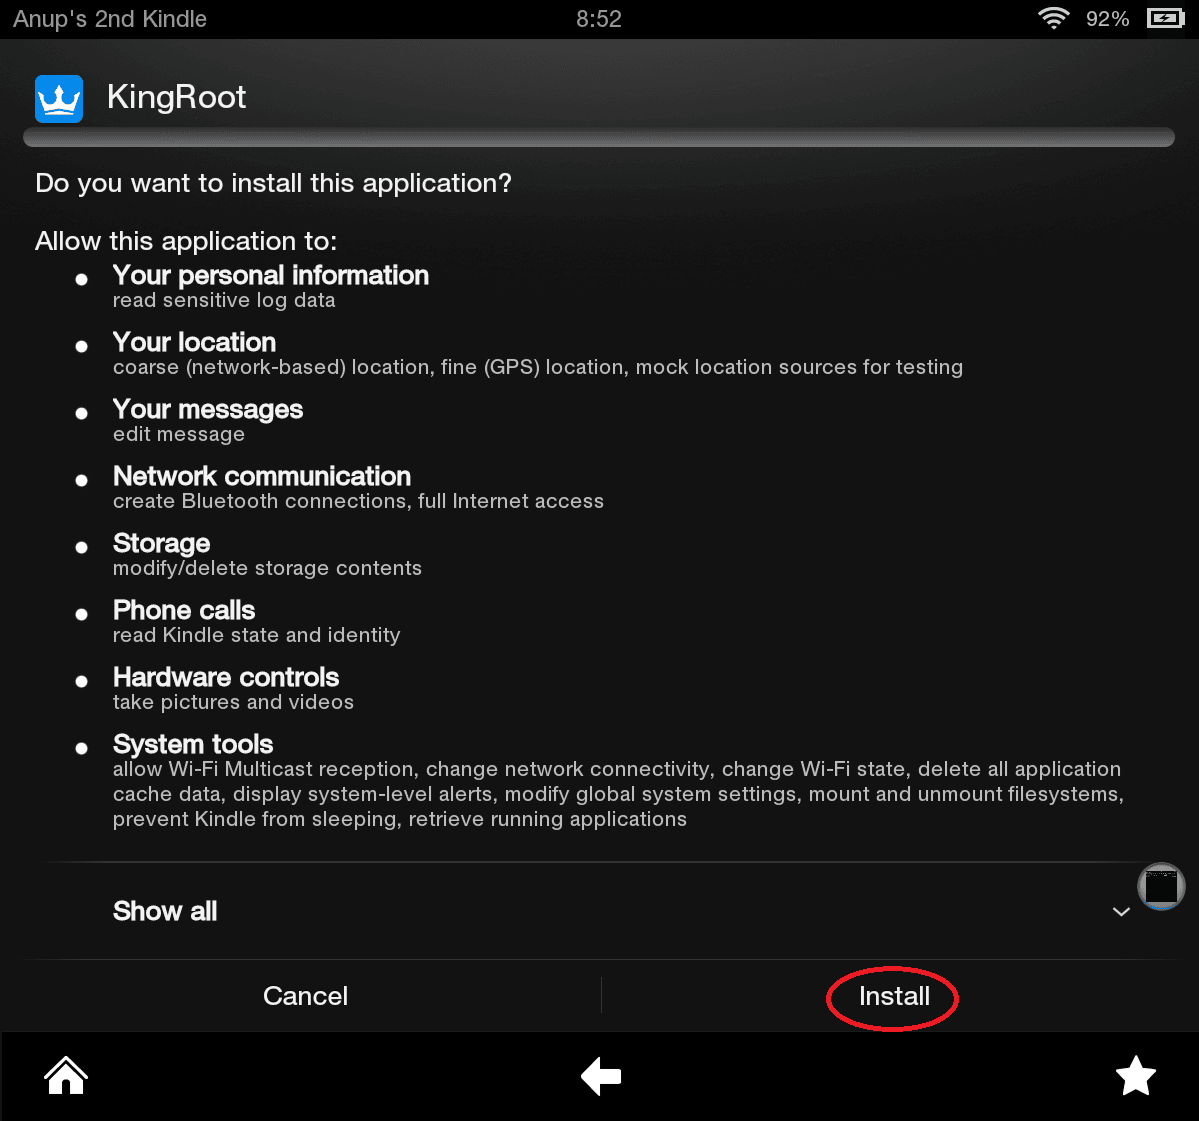
- Install the apk
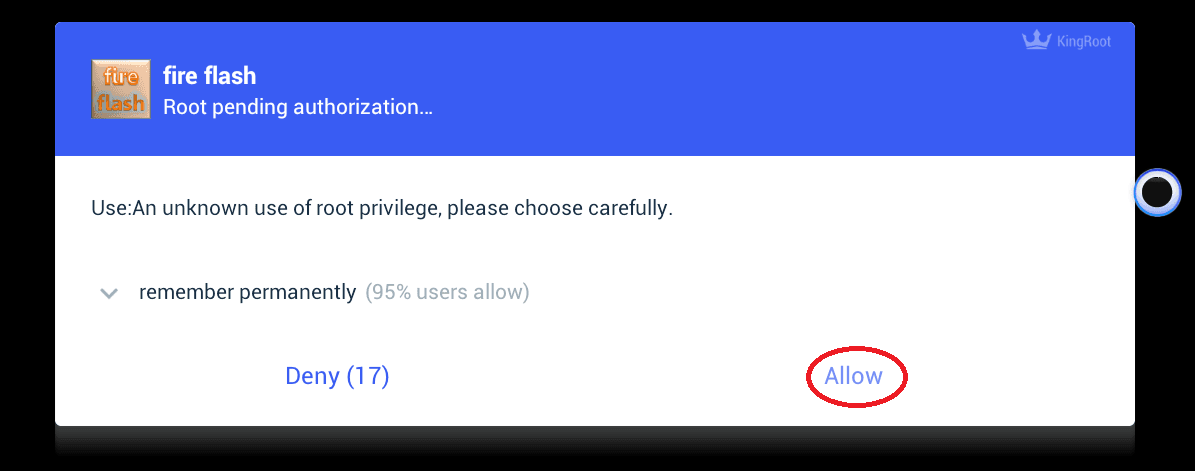
- Open the app and start the root process, make sure you are connected to internet and if it fails you try again.
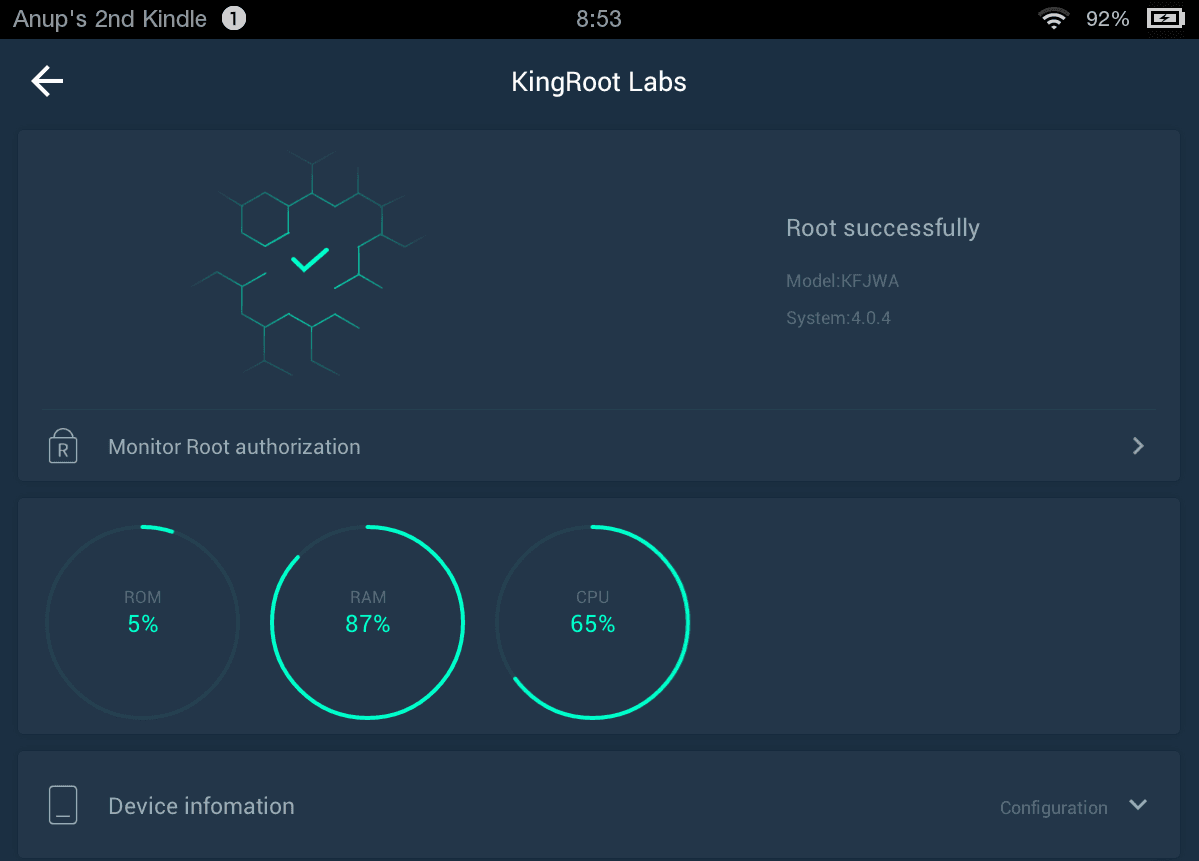
- Once rooted, you should see as follows.
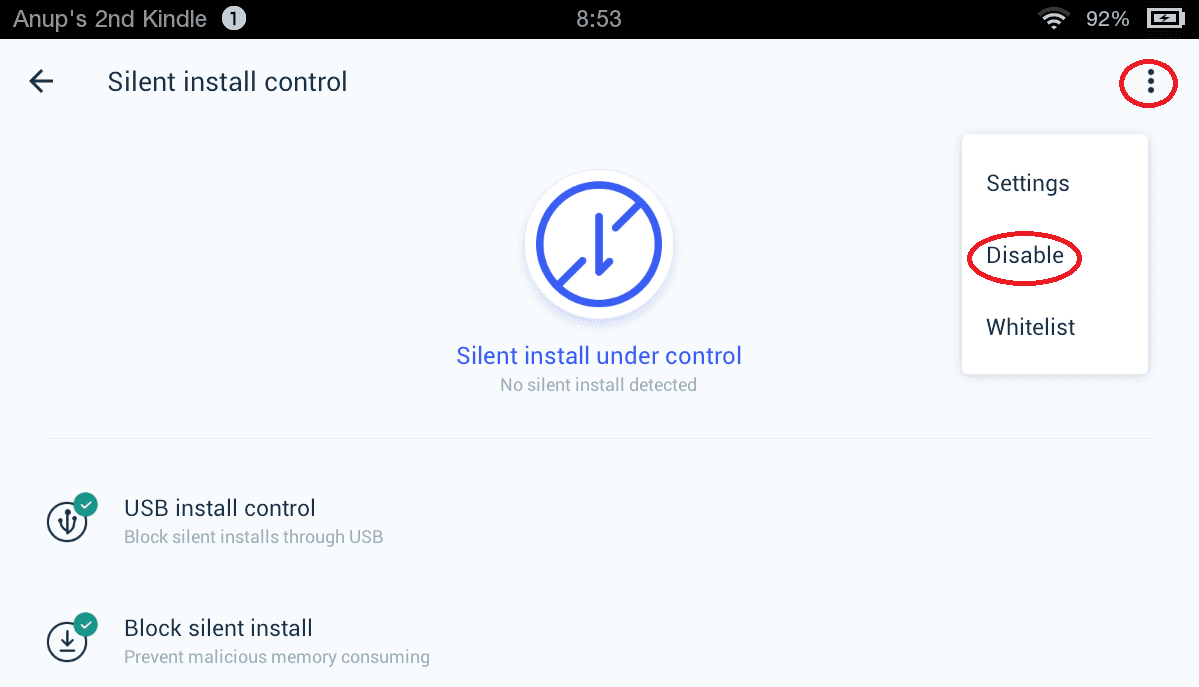
- Make sure everything is green and says Root Successfully and you Disable the Silent Install Option.
- Go to Settings inside KingRoot and see if you have Root Authorization Enabled!


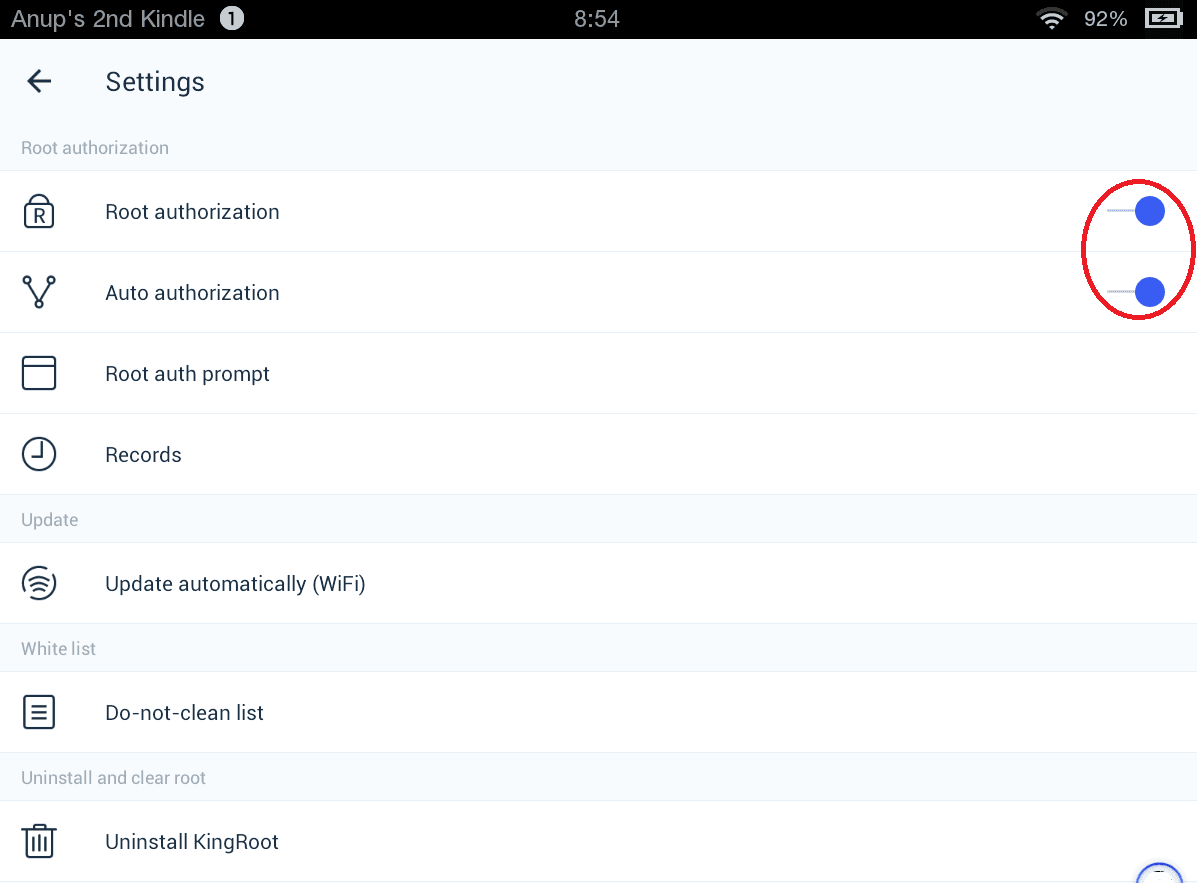
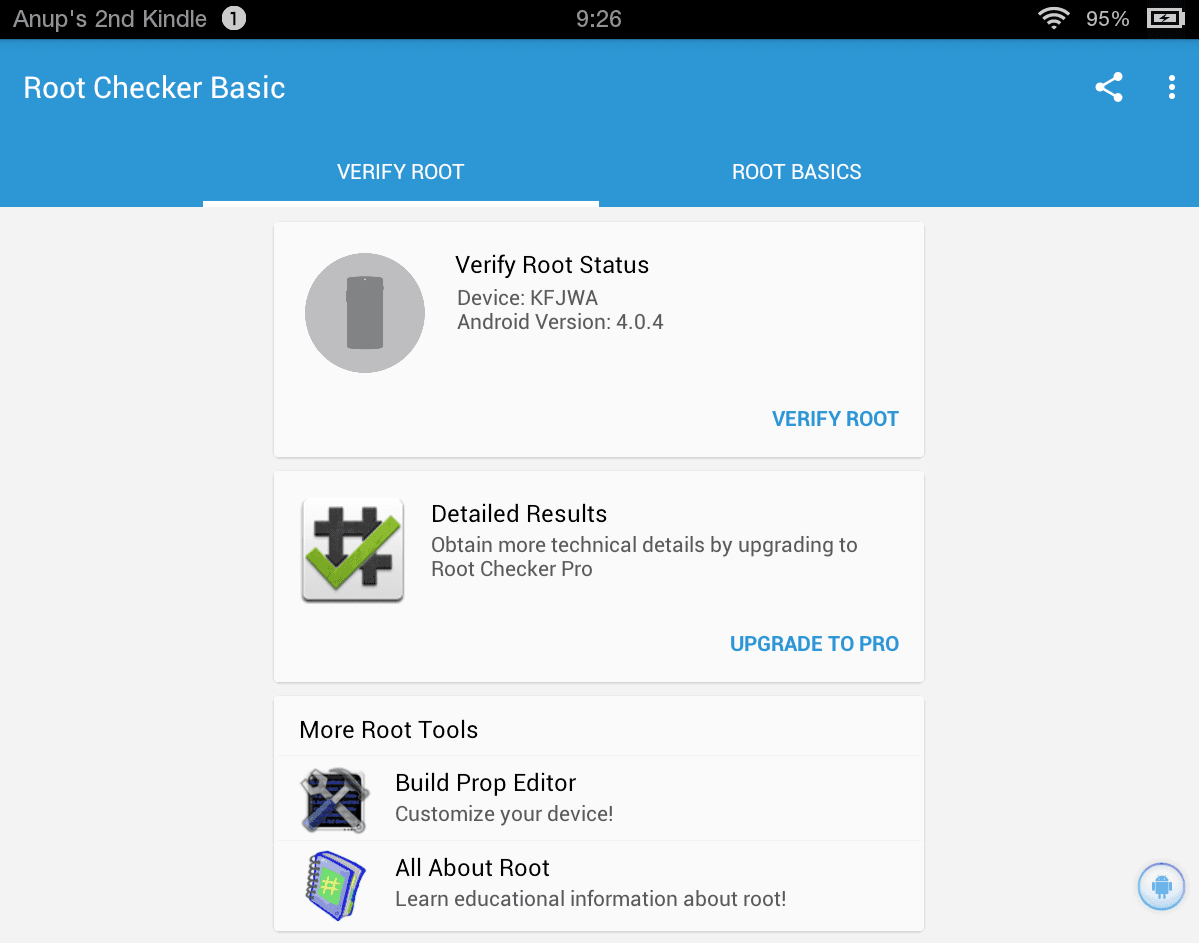
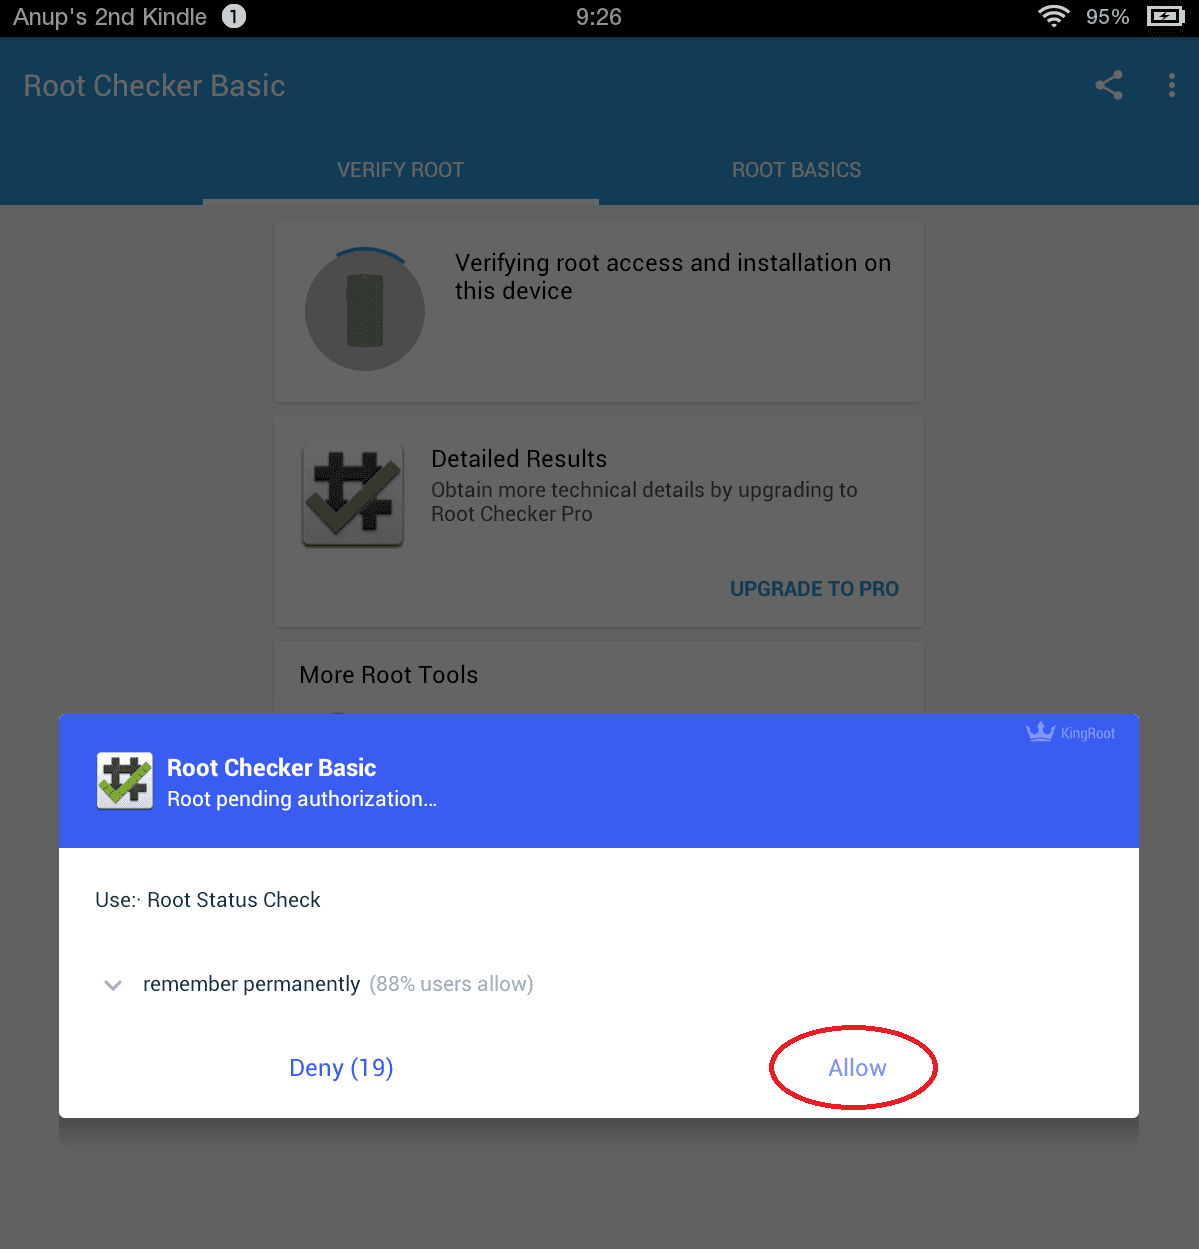
Once the device is rooted, you should be able to verify in the settings or you can even download Root Checker app from Amazon App Store.
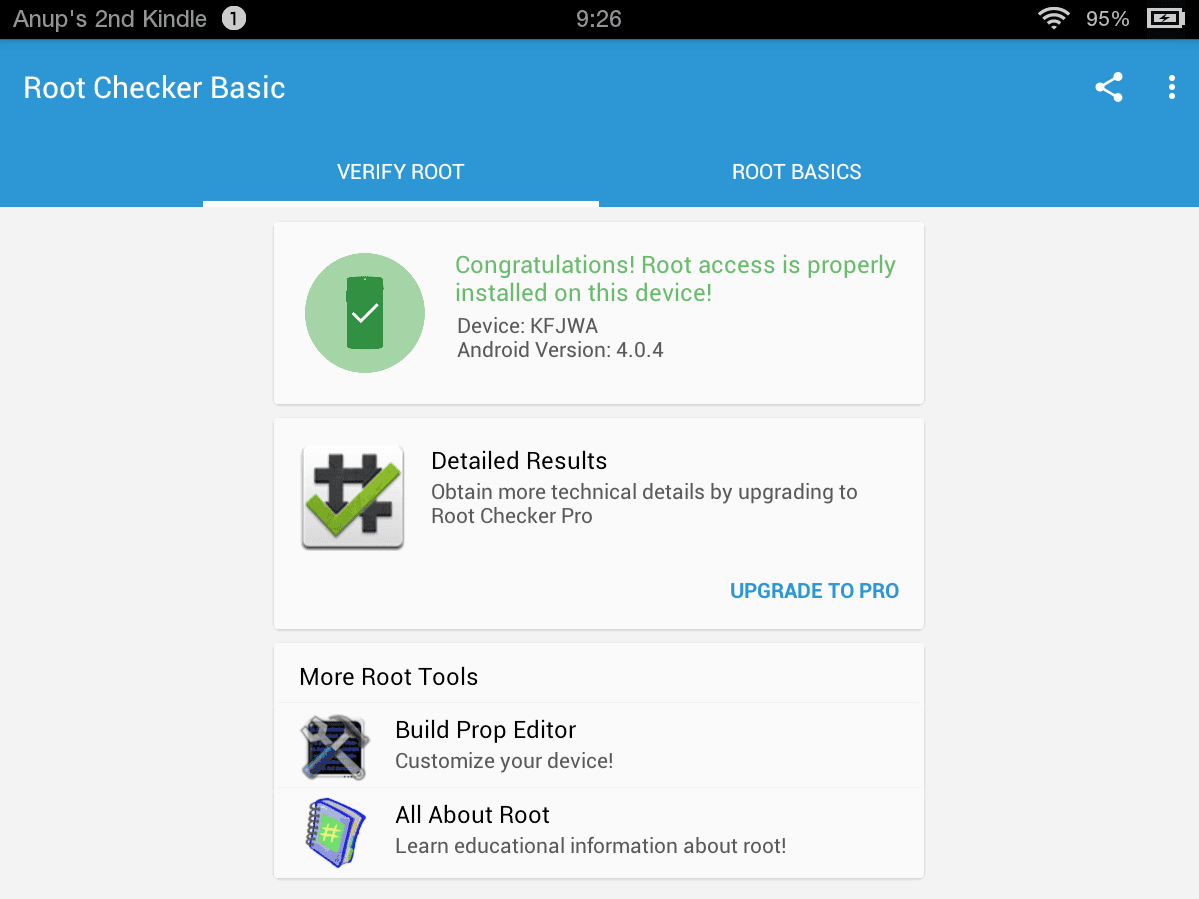
There you go! You have successfully rooted Amazon Kindle Fire HD 8.9 (LTE). Now, off to TWRP and Custom ROMs. 🙂
Backup What you have:
This step is very important! These backup files will be needed if anything goes wrong.
adb shell su -c "dd if=/dev/block/mmcblk0boot0 of=/sdcard/boot0block.img"
adb shell su -c "dd if=/dev/block/platform/omap/omap_hsmmc.1/by-name/boot of=/sdcard/stock-boot.img"
adb shell su -c "dd if=/dev/block/platform/omap/omap_hsmmc.1/by-name/recovery of=/sdcard/stock-recovery.img"
adb shell su -c "dd if=/dev/block/platform/omap/omap_hsmmc.1/by-name/system of=/sdcard/stock-system.img"

mkdir C:\KFHD89

adb pull /sdcard/boot0block.img/ [C:\KFHD89]
adb pull /sdcard/stock-boot.img/ [C:\KFHD89]
adb pull /sdcard/stock-recovery.img/ [C:\KFHD89]
adb pull /sdcard/stock-system.img/ [C:\KFHD89]
Make sure you have adb running. Just run this command in your cmd or terminal as an administrator. Your backup files should be available to you in C: drive under KFHD89 folder.
Installing Unlocked Bootloader, TWRP and Custom ROM
Since this tablet uses a legacy OS it was really hard to find the proper flashing tool to flash Recovery partition. The only apk that seems to work is called FireFlash. Also you do need the TWRP image to flash into the recovery partition.
Important: Amazon OS seems to delete the Recovery partition every time you reboot the device (or keep it in stand-by mode for a long period of time)
What you need:
- FireFlash 1.1 APK
- Unlocked Bootloader image file
- TWRP image file
Go ahead and follow these steps:
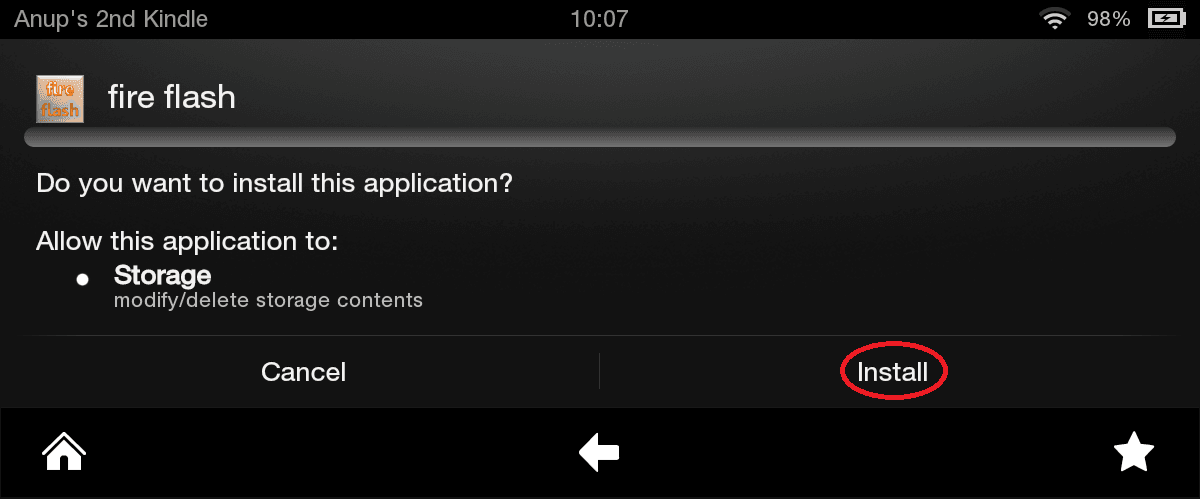
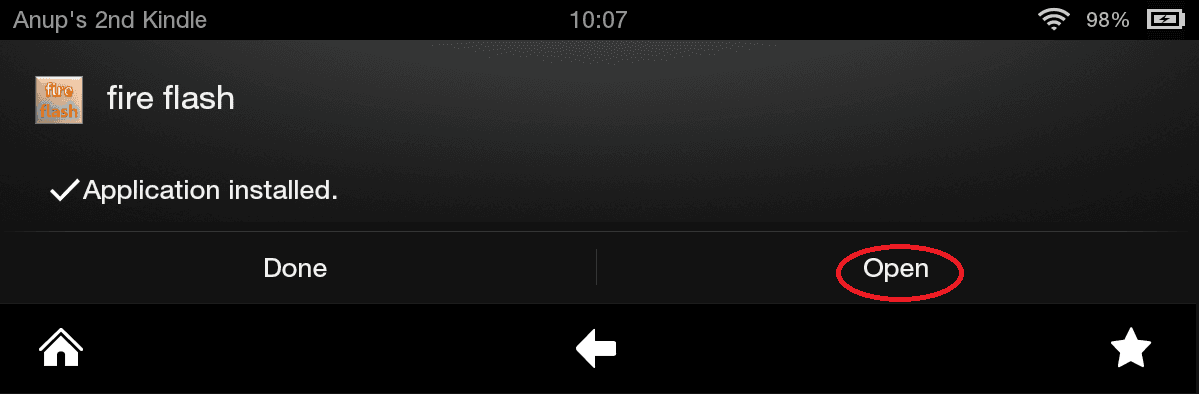
- Install the FireFlash APK and open it
- Make sure you select (as shown in the image below)
- Flash kfh8-u-boot-prod-8.1.4.bin (check the box) it will have some red text below saying your tablet doesn’t have 8.1.4. If not, it means you already have 8.1.4 bin and you will not be able to check the check box which is all right.
- Select unlocked 8.4.6 bootloader image kfhd8-freedom-boot-8.4.6.img for boot partition
- Make sure you check Apply stack override which uses Hashcode’s bootloader
- Select TWRP image file kfhd8-twrp-3.0.2-2-recovery.img for Recovery Partition
- Make sure you disable recovery auto update
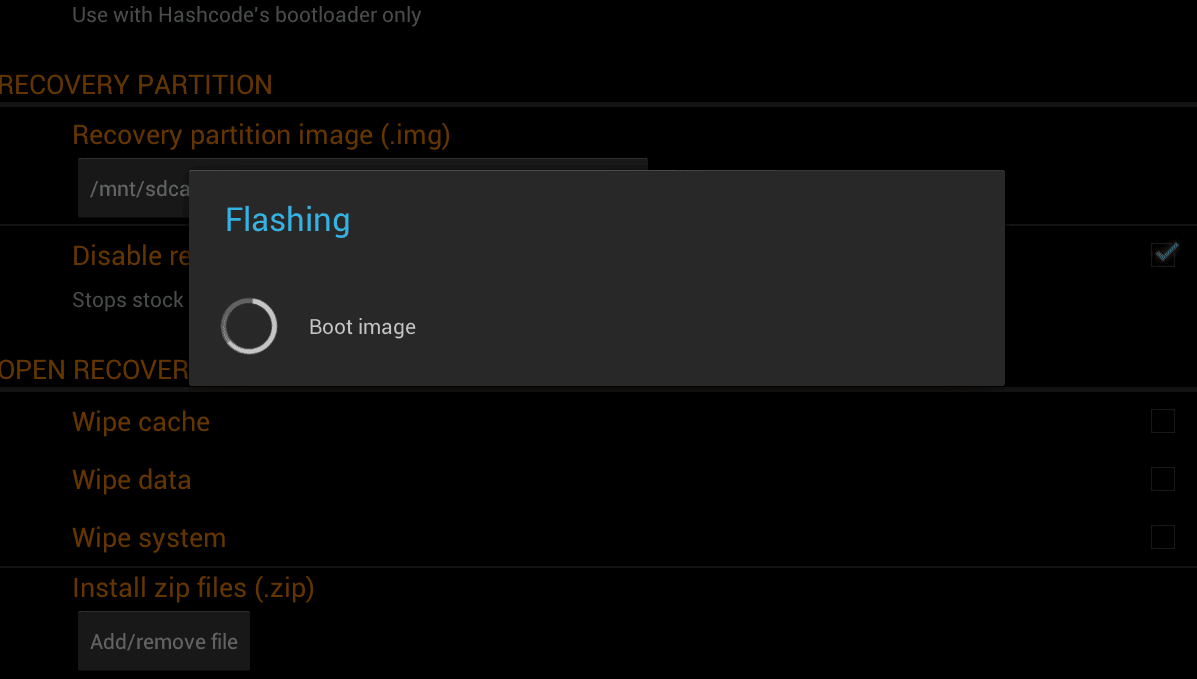
- Tap on Flash, Install Script
- It should now show a popup saying Flashing and complete the flash process
- You will see a report window when done. Go ahead and hit ok.
- Now immediately, tap on the Reboot into recovery button. This is important because Amazon OS tends to wipe the recovery partition from time-to-time.
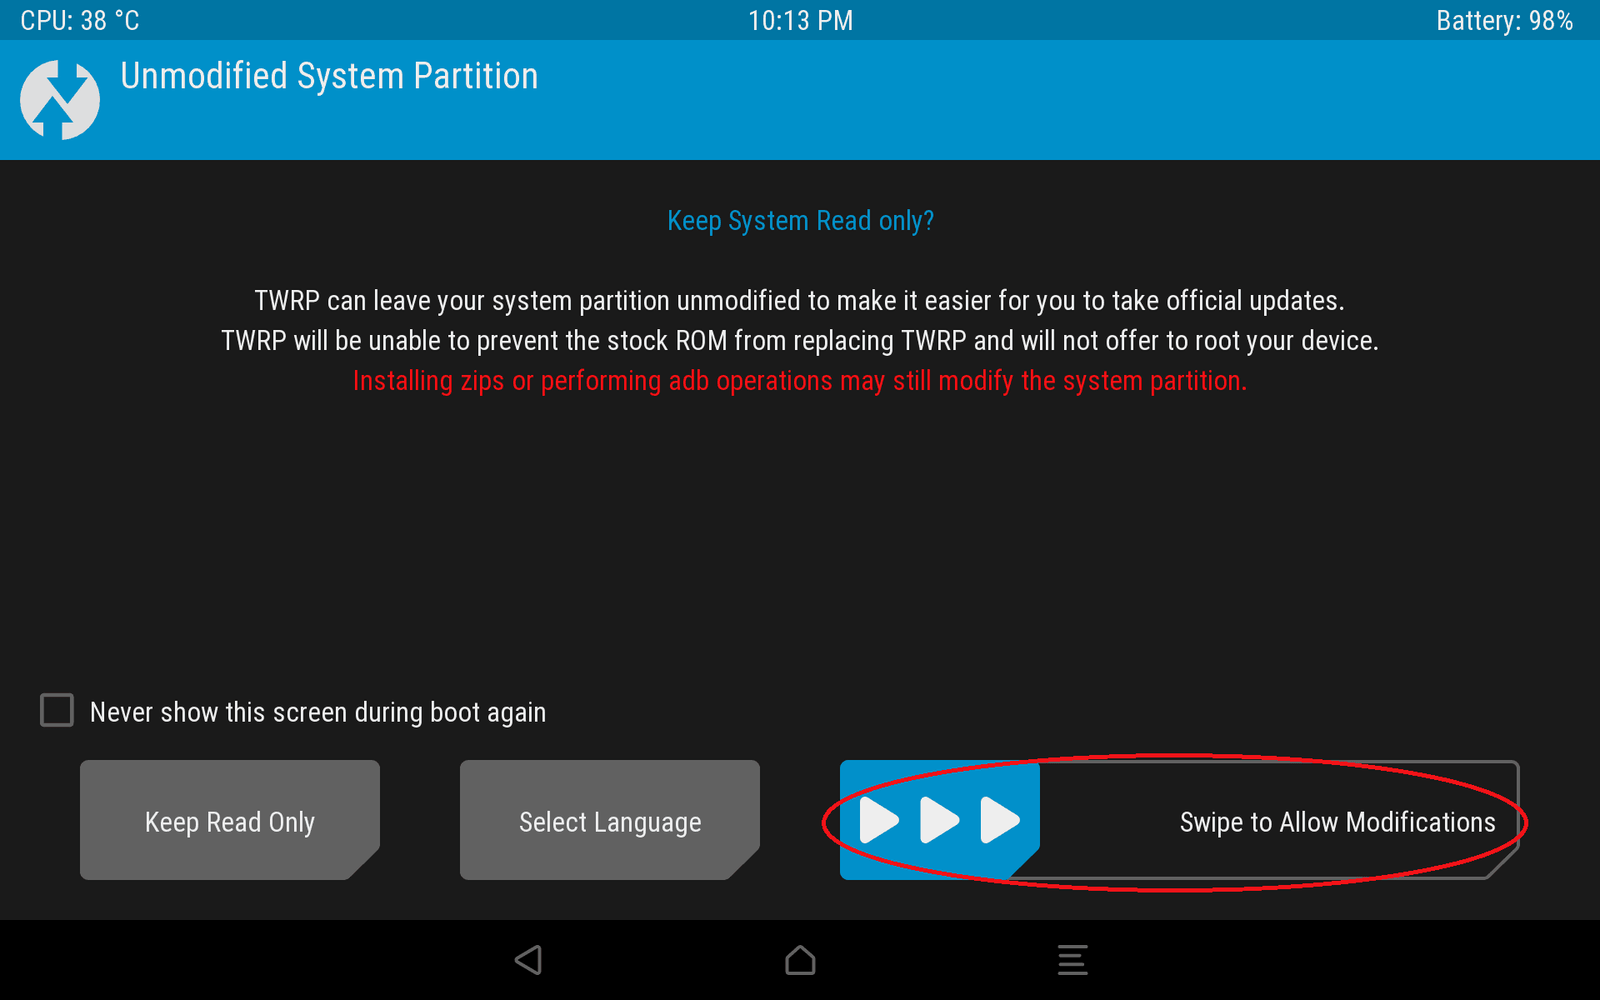
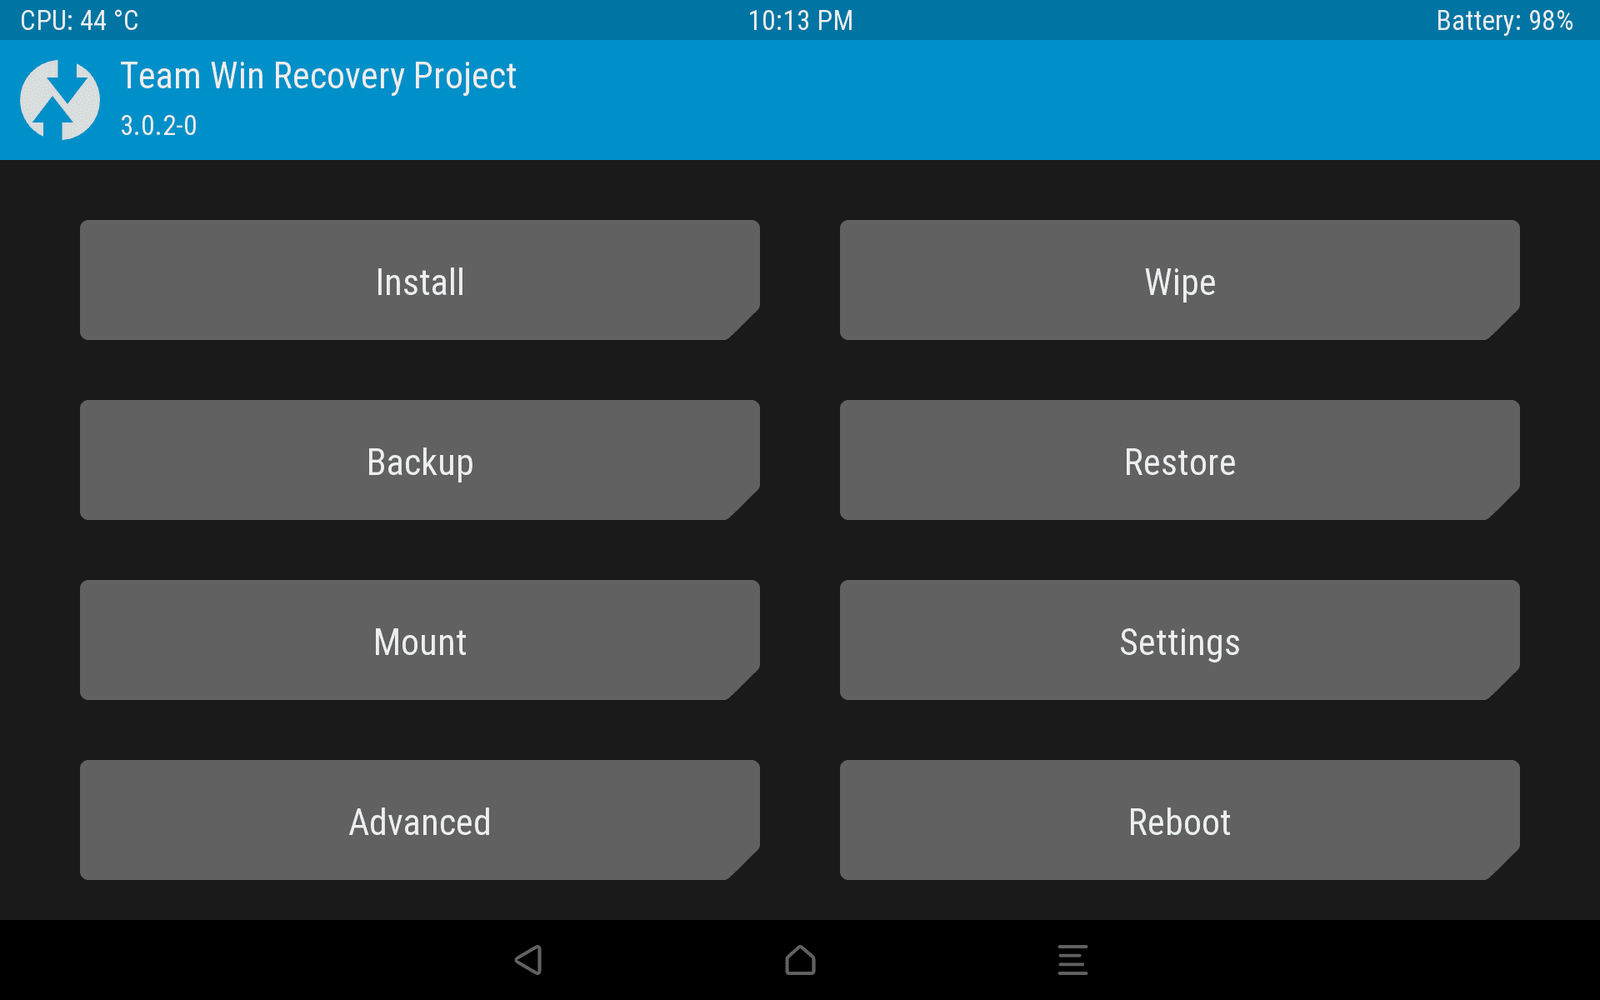
- Your tablet will restart and you will see Kindle Fire logo with the text Fire in red color. You should now boot into Recovery Mode with TWRP.
- If for some reason you restart or decide to go to recovery mode later, just flash the recovery partition with recovery auto update disabled using FireFlash and reboot into recovery.
- To know that your bootloader is unlocked, whenever you restart your tablet you’ll see Kindle Fire logo with Fire text in blue color.


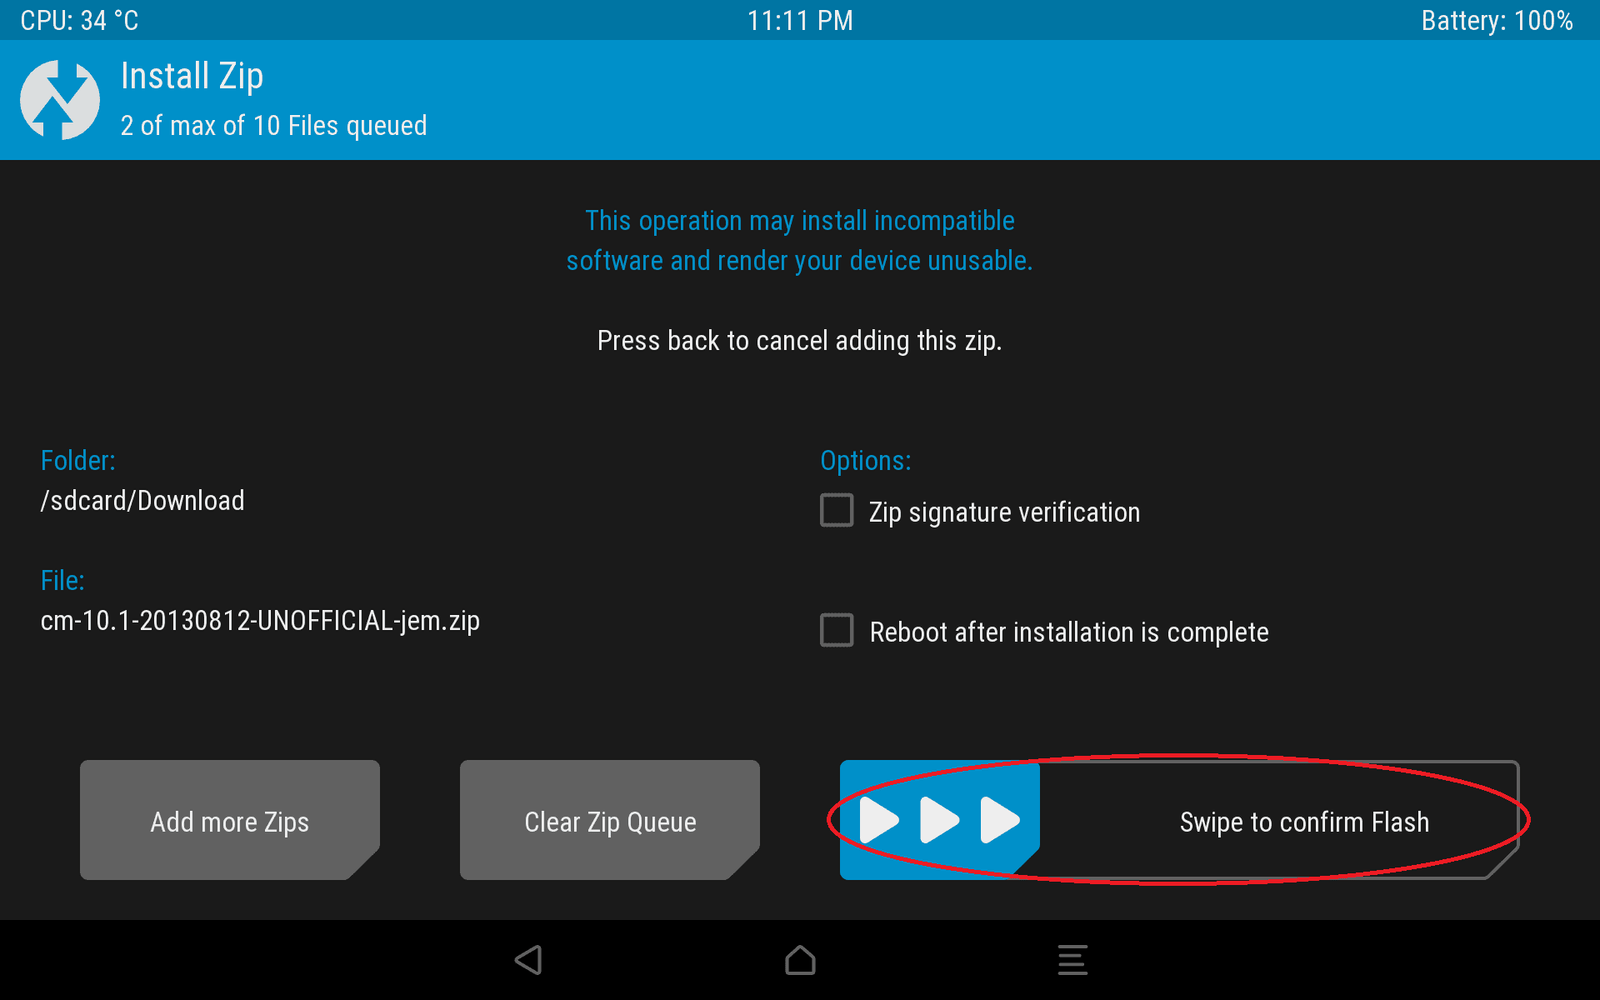
Install Custom ROM
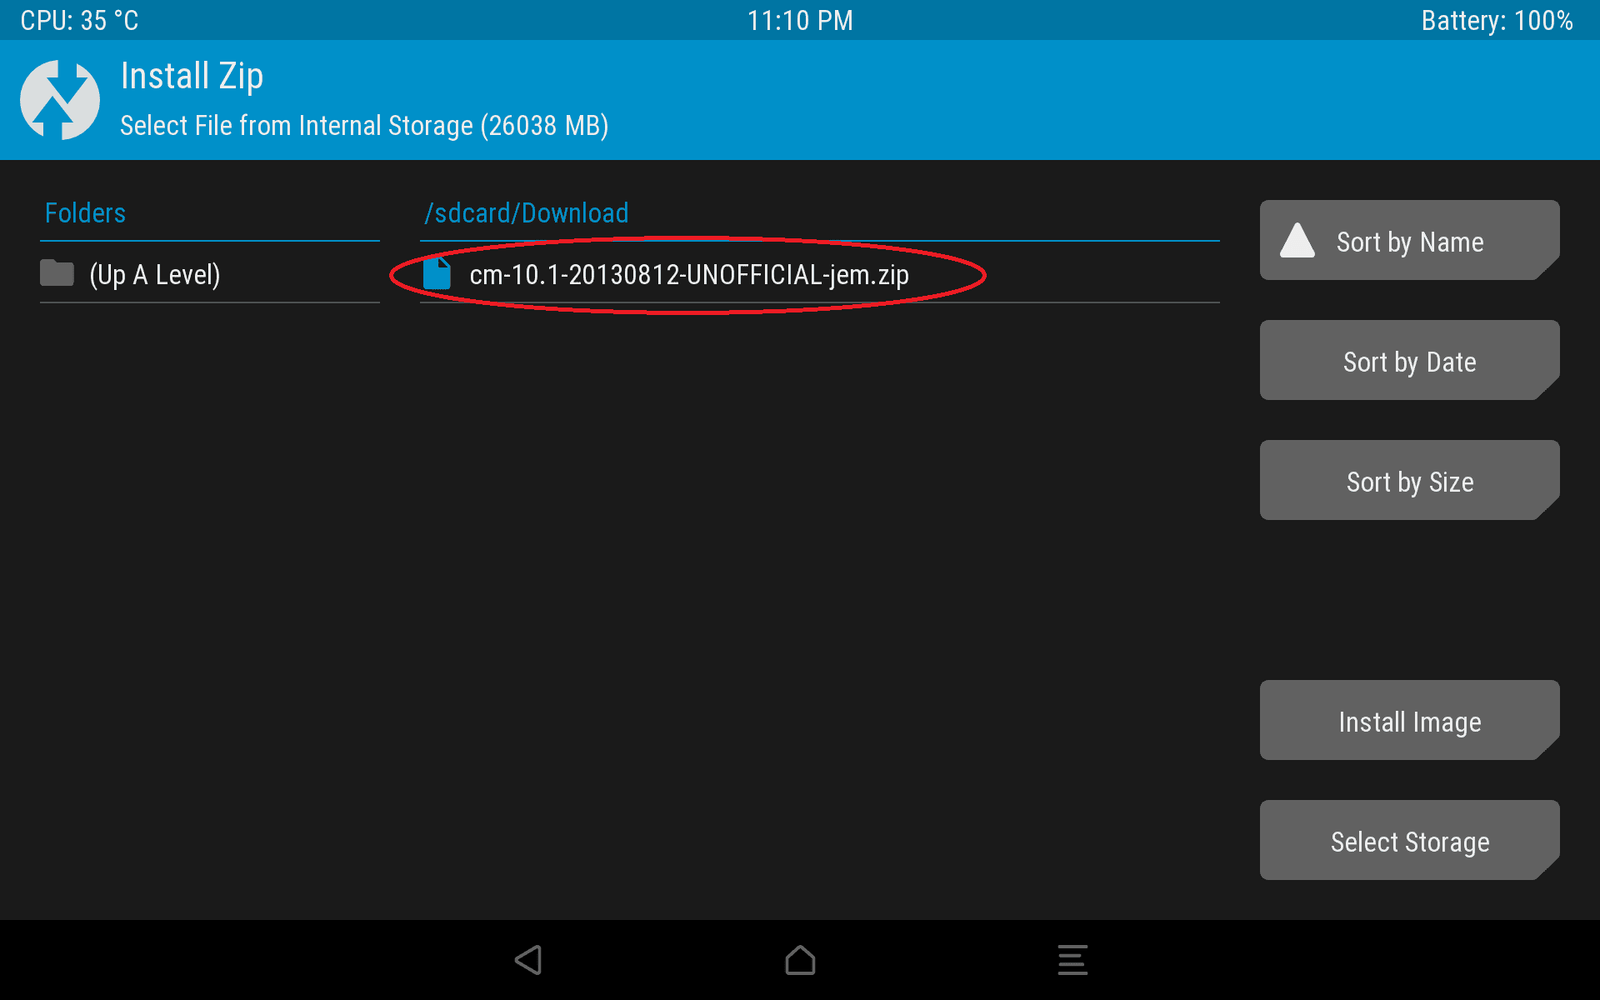
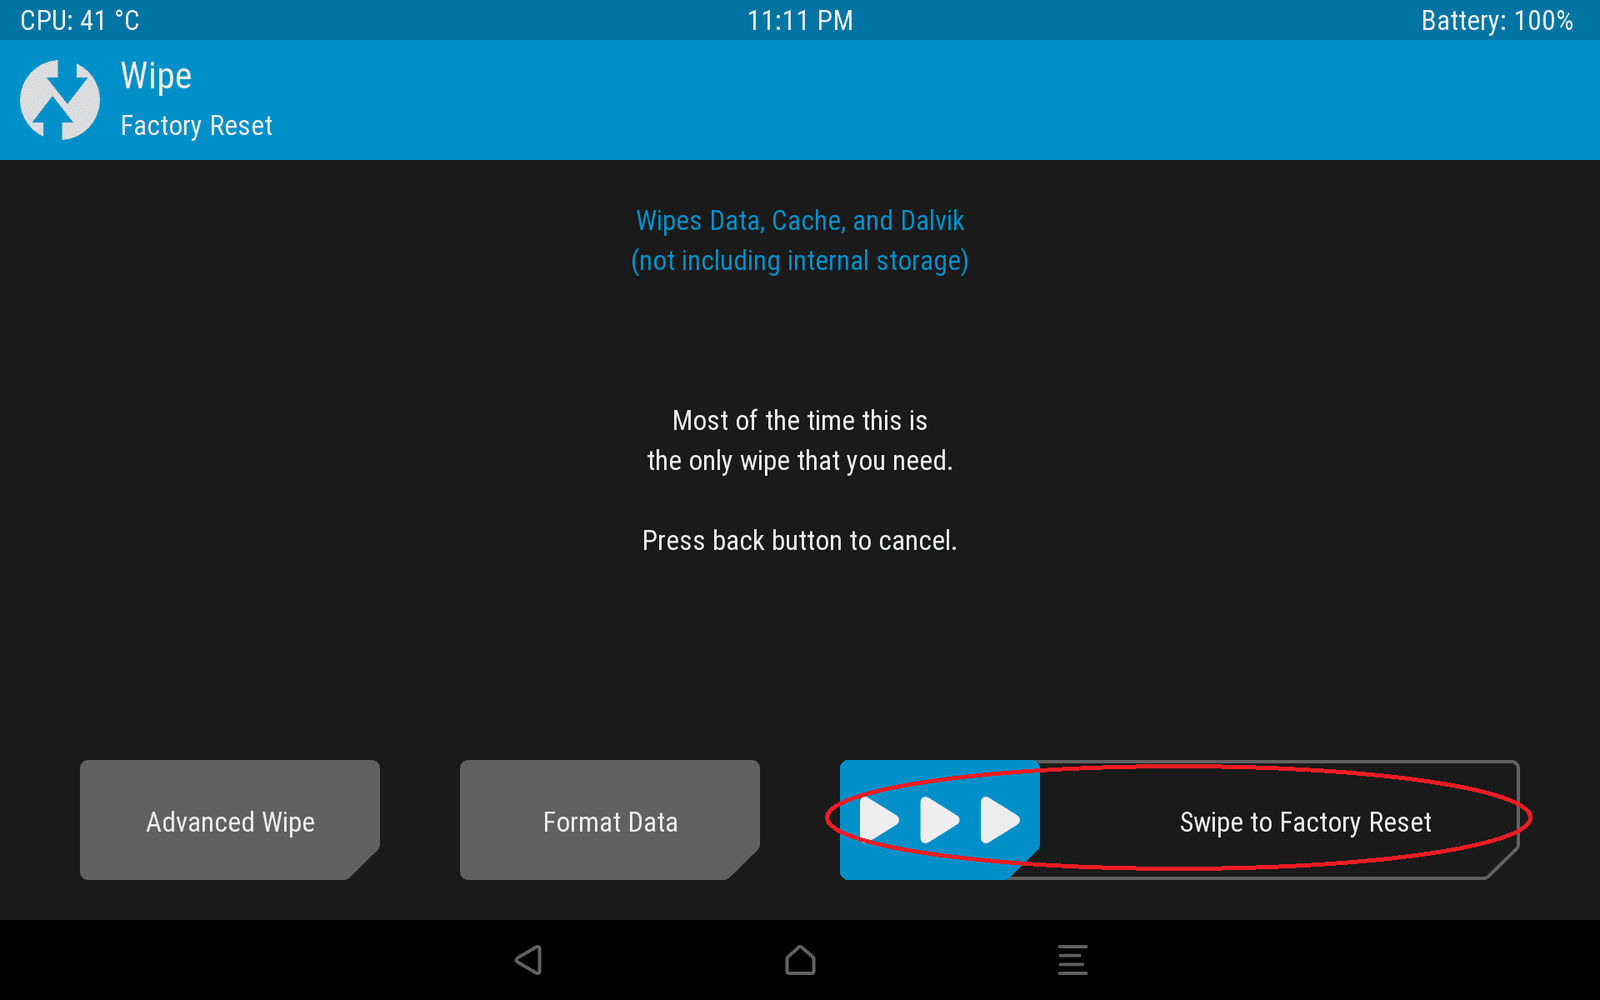
In order to install custom ROMs, make sure you have the correct rom that supports your device. It is usually in a .zip format. Once you choose the ROM that you want, just boot into recovery and in TWRP select the zip file and flash it. Make sure to wipe data, cache and davlik to restore to factory settings.
Now I heard that ROM from LiquidSmooth (they closed a while ago) is the best ROM out there for Kindle Fire HD 8.9 (both LTE and non-LTE) but I couldn’t find it anywhere. It should have been available here as LS-KK-MileStone-3.2-jem.zip for non-LTE device and LS-KK-MileStone-3.2-jemlte.zip for LTE device, but the links don’t work. So if anyone come across this ROM please do let me know. I’ll host it somewhere so that others can download. For now, I prefer to stick to stock OS as that is by far the best os for this device but will have a root so that I can install launchers that need root access.
Troubleshoot using Fastboot Command
If anything fails or you are stuck in bootloop, there is still a chance that you can fully recover your device. Make sure you have fastboot running in pc/mac and you have a backup of all your partitions as mentioned above. Now to go to a stock firmware all you need to do is shut the tablet down, open up command prompt(cmd) in Windows or terminal in Mac and do the following:
Fastboot Flash Boot Partition
fastboot -i 0x1949 flash boot stock-boot.img
Type this and hit enter it should say <waiting for device> and then go ahead and plug your device into your pc/mac. This should flash your boot image.
Fastboot Flash Recovery Partition
fastboot -i 0x1949 flash recovery stock-recovery.img
Type this and hit enter. (Now if it doesn’t do anything and is stuck. Take the USB cable out and plug it in again. Type the code above and hit enter. Do the same for the following codes.)
Fastboot Flash System Partition
fastboot -i 0x1949 flash system stock-system.img
Type this and hit enter. It will take a while. Once done type the following.
Fastboot Reboot
fastboot -i 0x1949 reboot
Your device should boot up into stock firmware!